Tutorial (Slides.com)
TUTORIAL (https://slides.com/)
_ Slides is a place for creating, presenting and sharing slide decks.
_ This tutorial will explore how we can use and make the most of this tool.
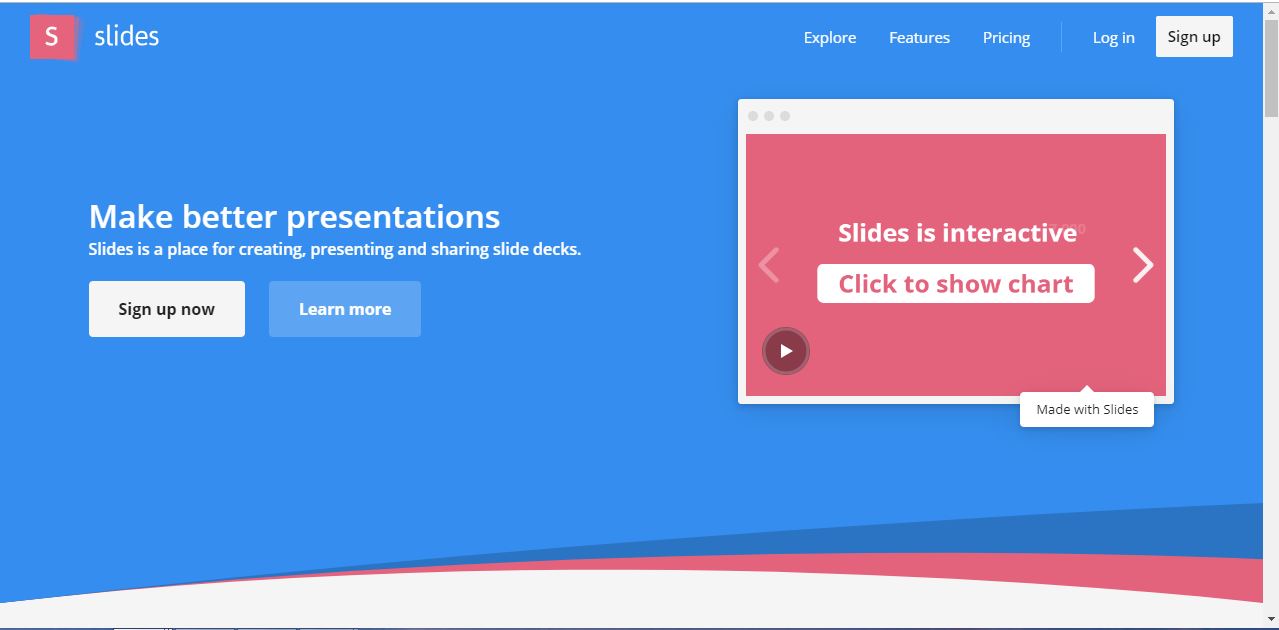
1) First, we have to click https://slides.com/ and then we will find the
buttons Sign up now and Learn more (picture A).
If we press Learn more we will find an explanation of
what Slides can do (picture B).
(Picture A)

(Picture B)
2) If we press Sign
up, we can choose whether to use it for free by clicking free plan (Public) or to use it by paying for different prices
(Lite, Pro and Team).

3) Once we have chosen, we will be able to log in
with an email account or with Facebook or Google. (Always remember to accept the terms and conditions of the service)

4) After selecting, we will find three options of which we will be focusing on two: Create a deck and Tell me more.

_ If we click Tell
me more, we will find some helpful hyperlinks in order to use the tool. (Picture A)

(Picture A)
_ If we press Create
a deck, we will be able to start working on our presentation. (Picture B)

(Picture B)
5) We will come across different options in order to
create, expand and improve our presentation. Below there will be some examples:


_ All these tools (and some more) are available so as to start creating our presentation. With them you can:
_ Edit the alignment, scale, line height, letter
spacing, text colour, etc.
_ Insert a video from YouTube or Vimeo into your presentation unsing "Iframe".
_ Press “Upload” in order to find an image from your computer or you can insert it from an URL.
_ Insert tables. We will be able to modify rows
and columns, cell paddings, border colour, text alignment,
_ Add a shape to modify its opacity, colour, rotation, border link, animation, depth and actions
(maximize, duplicate or delete).
_ Insert lines and change the beginning or the
end of them and modify their style, thickness, colour, opacity, etc.
_ Apart from this, we can come across many other options to enlarge/improve our deck such as:


6) Now, If we enter again, we will be able to see our profile and the decks we have created.

7) If we click on the presentation, we will find the option to see it fully, to check the comments, to make a copy, to share, to edit and to open the present view.


About slides.com
_ Slides.com is a combination of Power Point and Prezi. It is user-friendly as Power Point and also dynamic as Prezi. Slides enables anyone with a web browser to easily create, present and share beautiful presentations for free. The company was founded by Hakim El Hattab and Owen Bossola in 2013. They operate out of New York City and Stockholm, Sweden.
_ Within the main advantages, we find that it's free (unless you want to purchase a subscription), it's private (you can decide to publish it and make it public), you can see it everywhere, you can add collaborators, you can work when you are offline, you can edit from any device, you can assign tasks by tagging people in comments and you can add flowcharts and diagrams.
Pros of using slides.com in the classroom.
1) We can use it as an alternative to Power Point
2) We can strenghten our students oracy skills.
3) It may result in a way of motivating/encouraging learners to present a topic they like.
4) It is a way of avoiding teacher-centered classes in the sense that this tool promotes participation, collaborative work and interactiveness.
Cons of using slides.com in the classroom.
1) To create a presentation may be time-consuming.
2) To visual learners this is really enaging but other types of leaners may get distracted.
3) Students need to be trained to use the tool effectively, which may not be easy and requires time.
References
3) Students need to be trained to use the tool effectively, which may not be easy and requires time.
References
John Kluempers, (August 2016). Slides.com: an alternative. Retrieved from:
Slides, (2018). Retrieved from: https://slides.com/features
Switching to slides from Power Point. Retrieved from:
Services for presentation creation, (2018). Retrieved from:

Hi joe! I have found the tutorial easy to follow and clear. If i had to make a change, I would place the pros, cons and comments section on the top part of the post since it will give immidiate feedback to the person who is reading it. I will also enlarge the part in which you explain what the website is usef for. Love the post!
ResponderEliminar